Our kitchen is the heart of our home, where family comes together. It’s a place where we cook and create memories. Starting a kitchen renovation may seem daunting, but with the right steps, it can be easier than you think. A crucial part of this process is the demolition phase, which sets the foundation for your new kitchen. Whether you’re going for a complete kitchen gut renovation, a partial remodel, or a kitchen refresh, understanding your kitchen demo service requirements is crucial. Let’s dive into the essential steps of kitchen demolition and how to ensure a successful remodel.
Table Of Contents
Pick the Design of Your New Kitchen
Decide What to Keep
Get Demo Permits
Book Your Demo with ALMAR
The Exciting Part – Start Your Renovation
Wrapping Up
Pick the Design of Your New Kitchen
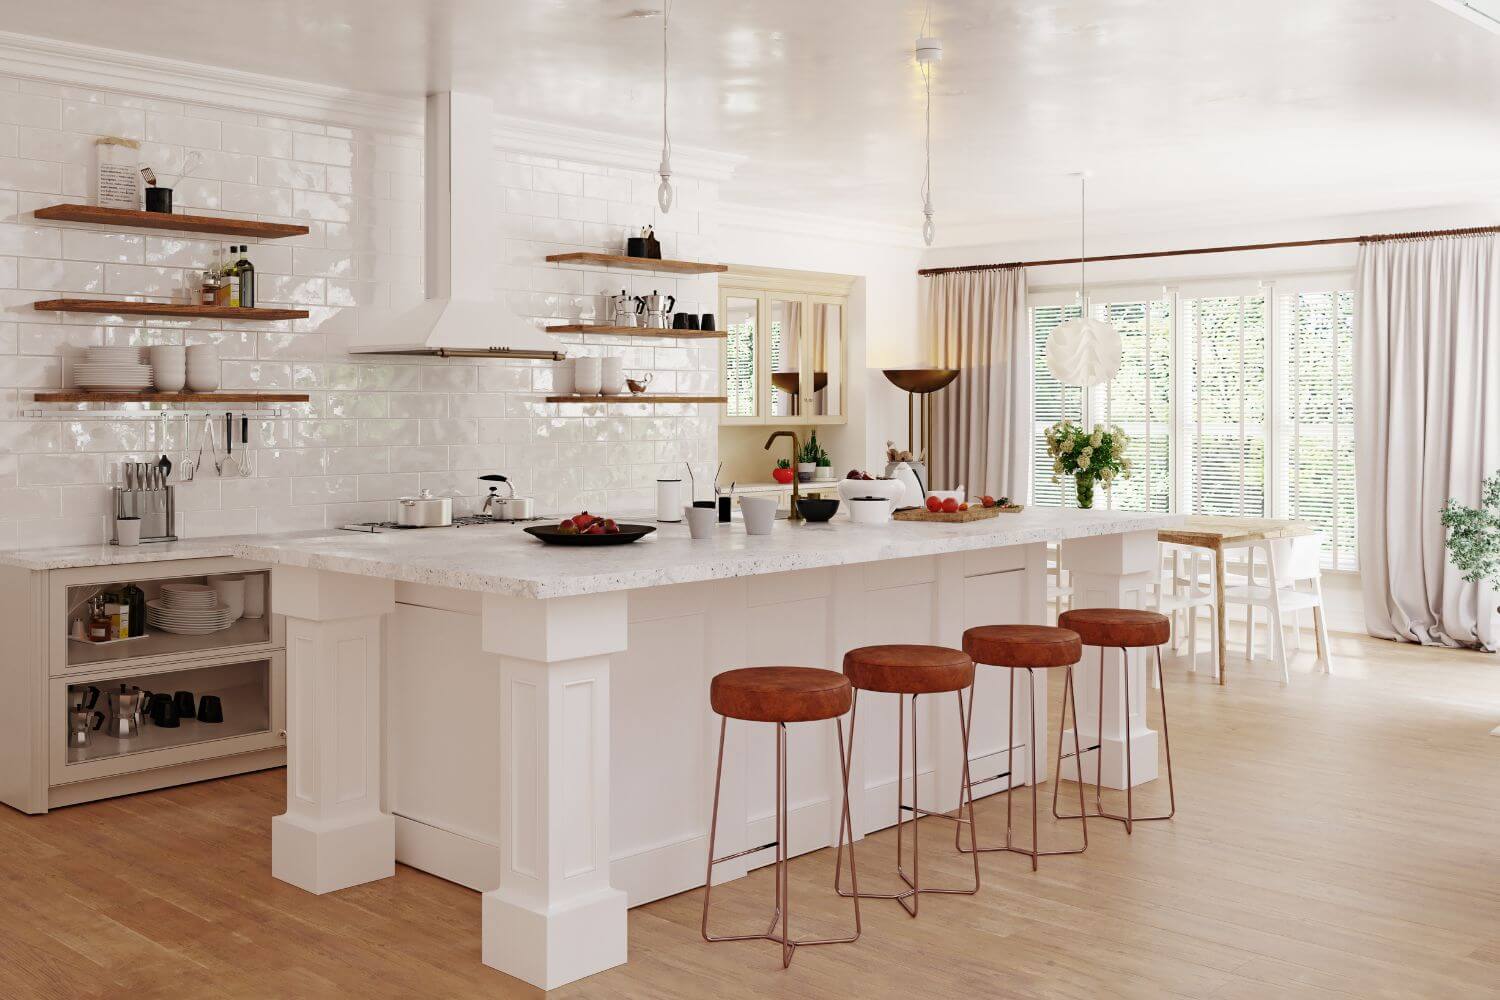
Before any demolition begins, it’s essential to have a clear vision of your new kitchen design. Consider your lifestyle, aesthetic preferences, and functionality needs. Look through home improvement magazines, websites, and social media for inspiration. Visiting home shows can also provide valuable insights into the latest trends and materials.
Understanding the different kitchen styles can help you make informed decisions. Whether you prefer a contemporary, farmhouse, or transitional kitchen, having a detailed plan will guide the demolition process and ensure that all necessary changes are accounted for.

Decide What to Keep
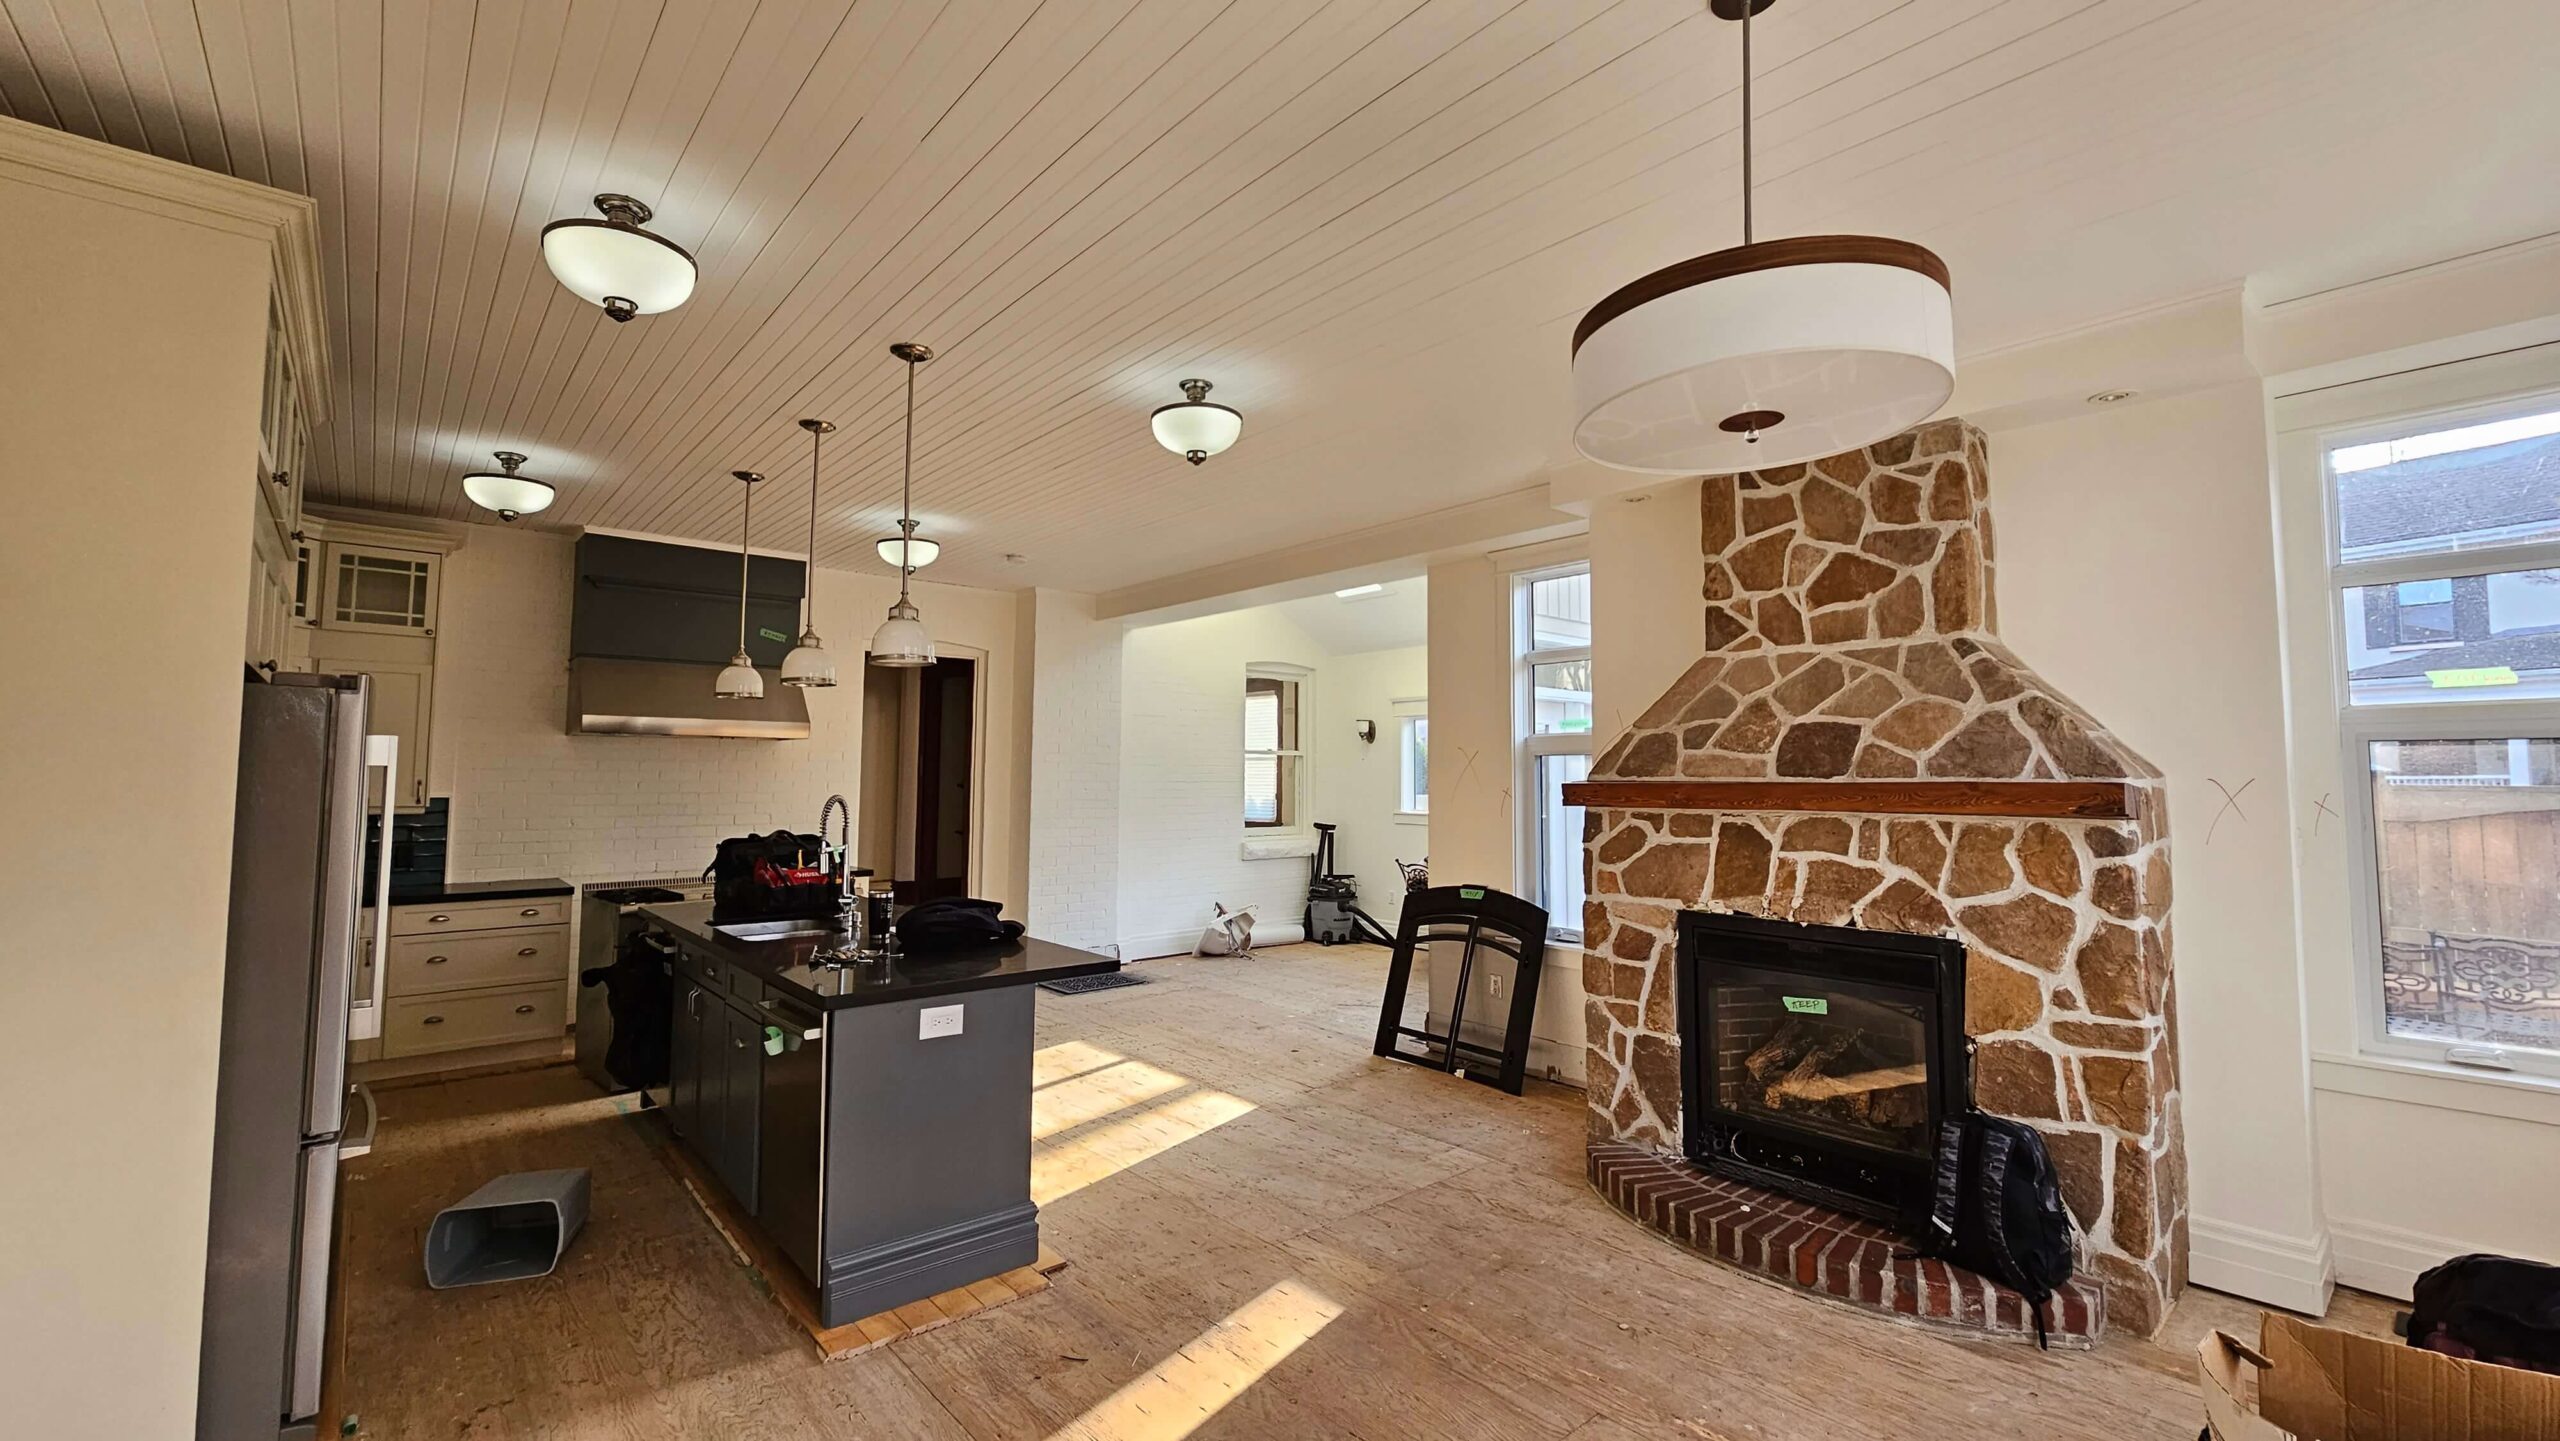
Once you have a design in mind, decide what elements of your existing kitchen you want to keep and what needs to be removed. This decision will significantly impact the scope of the demolition work. You might choose to gut the kitchen completely or retain certain elements like cabinets or appliances.
Assess the condition and functionality of your current kitchen components. If you’re keeping certain elements, ensure they will blend well with the new design. Mixing old and new can create a unique and personalized look, but maintaining a cohesive design is essential.
If you decide to remove load-bearing walls to open up the space, this requires careful planning and professional assistance to ensure structural integrity. Consulting with an architect or structural engineer is crucial in this case to safely execute these changes.

Get Kitchen Demo Permits
Before any demolition work begins, you’ll need to obtain the necessary permits. ALMAR Demolition can assist with this process, ensuring all local regulations and building codes are met. Failing to get the proper permits can lead to fines and delays, so this step is crucial.
Understanding the permit process is vital. Different municipalities have varying requirements for permits, and it’s essential to know what’s needed for your specific project. Typically, any structural changes, electrical work, plumbing modifications, or significant alterations to the layout will require permits.
Applying for permits usually involves submitting detailed plans of your renovation, including drawings and specifications of the changes you intend to make. It’s advisable to work with professionals who can help prepare these documents accurately. The review process can take anywhere from a few days to several weeks, depending on the scope of the project and the efficiency of your local permitting office.
ALMAR Demolition offers comprehensive services, including helping clients navigate the permit application process. Our team ensures all documentation is correctly filed, and we stay up-to-date with the latest building codes and regulations to avoid any legal issues or project delays.
Book Your Demo With ALMAR
Once your demo permits have been approved, we can schedule your kitchen demolition service. ALMAR Demolition is known throughout Toronto and the GTA as one of the best demolition companies to work with, our efficiency, attention to detail and punctual demo team put us heads and shoulders above the rest. Here is everything you need to know about your up-and-coming service:
Preparation for Demolition
The preparation phase is critical for ensuring a smooth kitchen takedown process. Start by disconnecting and removing all appliances and fixtures to prevent damage. It’s essential to turn off all utilities – water, gas, and electricity – before beginning the demo to ensure safety.
Covering and protecting surrounding areas is also crucial. Use plastic sheeting to seal off adjacent rooms and protect floors and other surfaces from dust and debris. If you’re removing walls, ensure any structural supports are in place before demolition begins to maintain the integrity of your home.
Demolition Techniques
The type of demolition required depends on the scope of your renovation. A full gut renovation involves removing everything down to the studs, while a partial demo might focus on specific areas like countertops, cabinets, or flooring.
At ALMAR Demolition, we use state-of-the-art equipment and follow best practices to ensure a smooth and efficient demolition process. Our experienced team is skilled in various demolition techniques, from manual tear-outs to the use of heavy machinery for more extensive projects. We prioritize safety and cleanliness, ensuring minimal disruption to your home.
Waste Management and Disposal
Proper waste management is a critical aspect of the demolition process. Efficient disposal of debris not only keeps the worksite clean but also complies with local regulations. ALMAR Demolition handles all aspects of waste management, including sorting and recycling materials whenever possible. We ensure that all debris is disposed of responsibly, minimizing the environmental impact of your renovation.

The Exciting Part – Start Your Renovation
With the demolition complete, the real transformation begins. Although the primary focus here is on demolition, it’s essential to understand how a well-executed demo sets the stage for the renovation phase. This involves installing new cabinetry, countertops, flooring, and fixtures. Working with professionals can help ensure everything is done to the highest standards, from electrical and plumbing work to the final aesthetic touches.
Electrical and Plumbing Work
Once the space is cleared, it’s time to address the underlying infrastructure. Upgrading the electrical system and plumbing is often necessary to accommodate new appliances and fixtures. This step may include installing additional outlets, upgrading the electrical panel, and rerouting plumbing lines to suit the new layout.
Hiring licensed electricians and plumbers is crucial to ensure the work is done safely and complies with local codes. They will also handle necessary inspections to ensure everything meets regulatory standards before moving on to the next phase.
Cabinetry and Countertop Installation
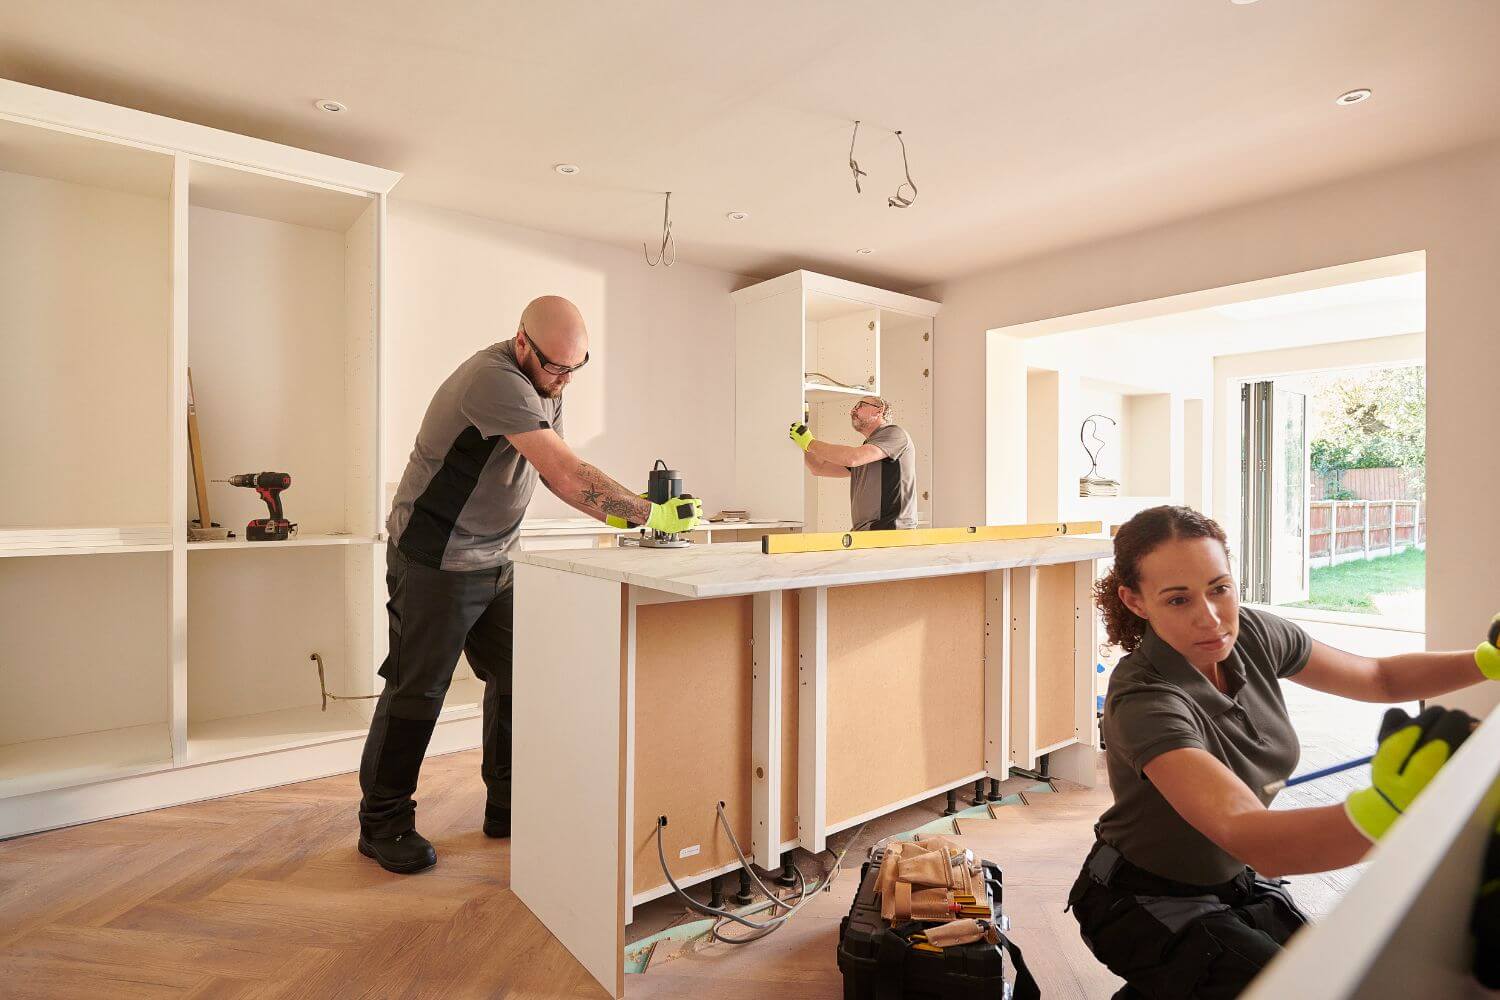
Next, comes the installation of new cabinetry and countertops. This phase requires precise measurements and careful planning to ensure a perfect fit. Custom cabinets may take several weeks to manufacture, so it’s essential to order them well in advance.
Choosing the right materials for your countertops is also important. Options range from budget-friendly laminate to luxurious granite or quartz. Each material has its pros and cons in terms of durability, maintenance, and cost.
Flooring and Wall Finishes
After the cabinets and countertops are in place, it’s time to focus on the flooring and walls. Depending on your design, you might opt for tiles, hardwood, laminate, or vinyl flooring. Each option has different benefits in terms of durability, maintenance, and aesthetic appeal.
For the walls, painting is a quick and effective way to refresh the space. Alternatively, you might choose to install a backsplash to add visual interest and protect the walls from splashes and spills.
Lighting and Fixtures
Proper lighting is essential in a kitchen. It enhances the functionality and ambiance of the space. Consider a mix of task lighting, ambient lighting, and accent lighting to achieve a well-lit kitchen. Under-cabinet lighting can illuminate countertops, pendant lights over the island add style and task lighting, and recessed ceiling lights provide overall illumination.
Upgrading fixtures, such as faucets and cabinet hardware, can also make a significant impact. Choose fixtures that complement the overall design and are functional for everyday use.
Finishing Touches
Finally, add the finishing touches that will bring your kitchen to life. Install the sink and faucet, mount the backsplash, and add any additional decor elements like window treatments, rugs, or artwork. These details personalize the space and reflect your style.
Adding organizational elements like pull-out shelves, drawer dividers, and pantry organizers can enhance functionality. Incorporating smart technology, such as a smart fridge, voice-activated lighting, or a connected oven, can also elevate the kitchen experience.

Wrapping Up
A successful kitchen remodel starts with a well-executed demolition. At ALMAR Demolition, we bring our extensive experience, modern equipment, and commitment to safety to every project. Serving Toronto and the Greater Toronto Area, we are dedicated to providing reliable, comprehensive demolition services tailored to your needs. Contact us today at (647) 575-5085 to begin your kitchen demolition project and take the first step toward your dream kitchen.
By choosing ALMAR Demolition, you are selecting a partner who understands the intricacies of kitchen demolition and is committed to delivering exceptional results. Let us help you transform your space and achieve your renovation goals.
Through meticulous planning, clear communication, and expert execution, your kitchen renovation can be a smooth and rewarding process. By following these essential steps, you can create a beautiful and functional kitchen that enhances your home and lifestyle for years to come. Whether you’re embarking on a full renovation, a partial remodel, or a simple refresh, taking the time to plan and execute each step carefully will ensure your project is a success.
