
Published 3 July 2026
Here is the scene: it is the first warm Saturday of spring, you step onto the back deck with a coffee, and a board flexes under your foot in a way it never used to. The railings wobble. There is soft, grey rot where the posts meet the ground. That deck has reached the end of the road, and before a new one can go in, the old one has to come out. If you would rather skip the weekend of crowbars and splinters, our residential demolition crew handles deck tear-downs across the GTA, but if you want to tackle it yourself, this guide walks you through it the safe way.
In This Article
Safety and permit notice: This article is general information, not a permit or a substitute for professional advice. Almar Demolition GTA is not responsible for any injury, damage, or cost from action taken based on it. Most demolition in Toronto and the GTA needs a City of Toronto building permit before work starts. Any building put up before 1990 may hold asbestos or other designated substances, so it needs a designated substance survey under Ontario Reg 278/05 and removal by a licensed abatement contractor before any tear-down begins. When in doubt, stop and call a licensed demolition contractor.
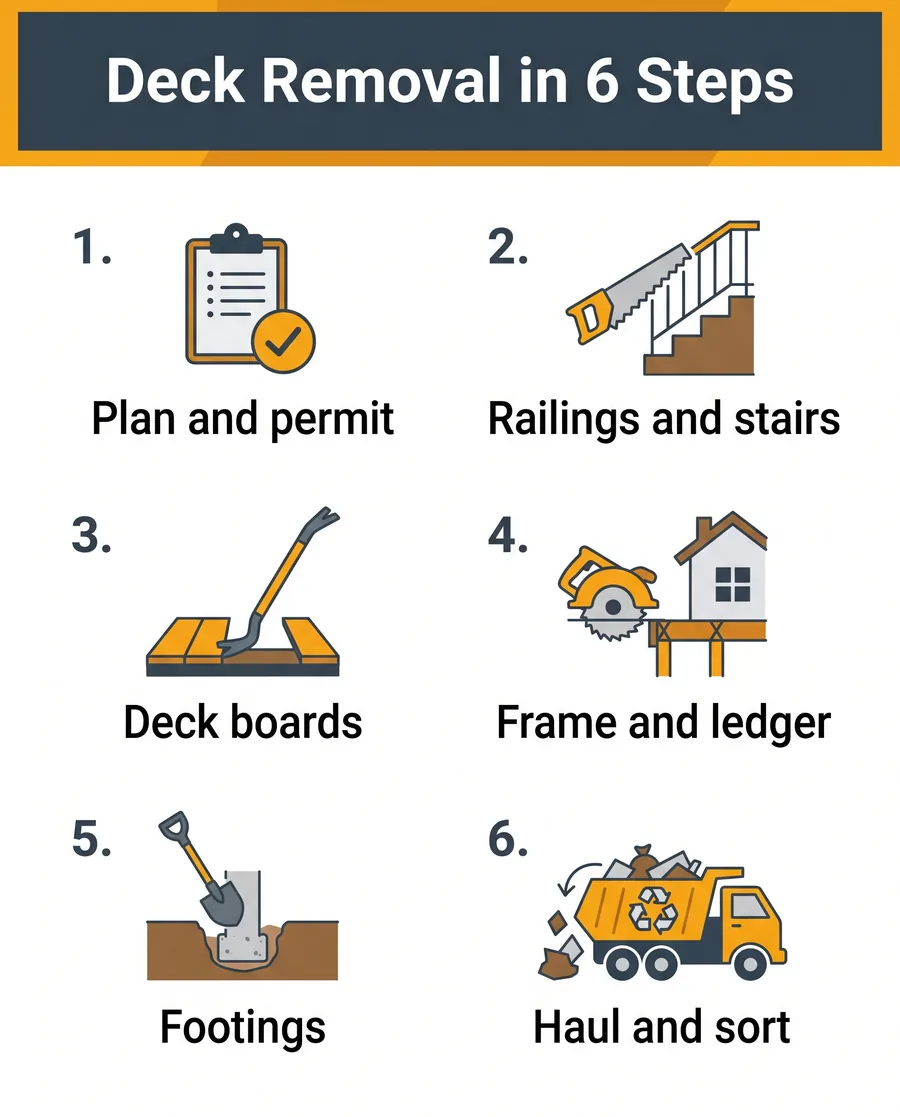
Step 1: Plan, Check the Permit, and Gear Up
Before you touch a single screw, do two things. Call your municipality and ask whether deck removal needs a permit where you live, and figure out where all that wood is going to end up. Get those sorted, and the rest of the day goes smoothly.
Then gear up properly. Old decks are full of rusty nails, brittle wood, and surprise wasp nests. You want gloves, eye protection, sturdy boots, and a dust mask, plus a pry bar, a reciprocating saw with a demolition blade, a drill, a hammer, and a wheelbarrow. The Ontario Ministry of Labour’s Occupational Health and Safety Act guide exists for a reason, and on a demolition job, that reason is usually a nail through a hand.
Pro Tip
Take ten minutes to photograph how the deck is attached to the house before you start. Knowing where the ledger board, flashing, and fasteners sit makes the tear-down safer and helps you, or your builder, get the new ledger and flashing right so water never gets behind your siding.
Step 2: Remove Railings and Stairs
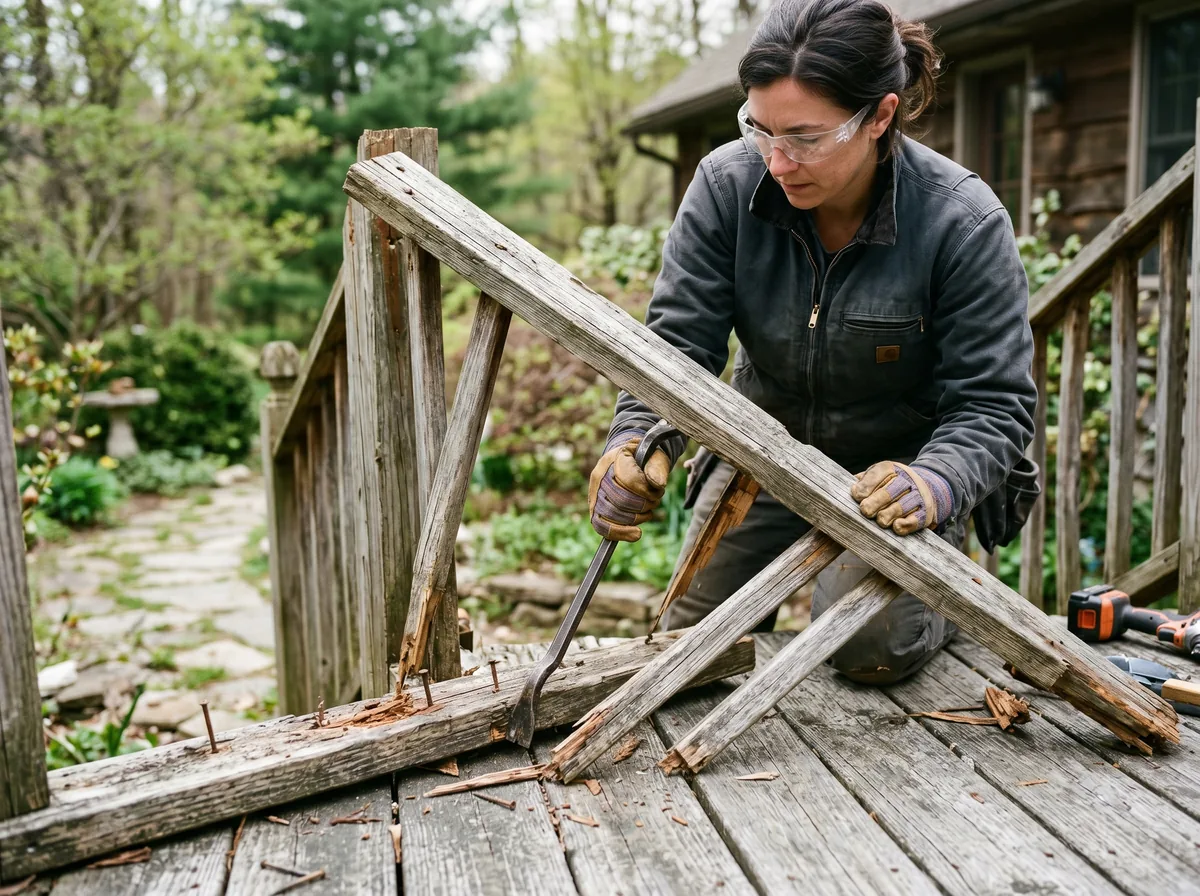
Always work from the top-down and from the outside-in. Start with the railings, since they carry no structural load once you are demolishing, and a deck without railings is easier and safer to move around on. Unscrew or cut the balusters, then the top and bottom rails, then the railing posts.
Stairs come next. Detach them from the deck frame and walk them away as whole units if you can; a flight of stairs is much easier to carry intact than to fight apart board by board. Now you have a clear, flat platform to work on.
Step 3: Pull Up the Deck Boards
With the surface clear, start lifting the deck boards. If the boards are screwed down and you plan to reuse or donate them, back the screws out one at a time. If they are nailed, or you are sending everything to disposal anyway, a pry bar under each board and a firm pull is faster.
Save Your Money
Clean, straight cedar or composite boards have real resale and donation value in the GTA. Pulling them up carefully instead of smashing them can put a few hundred dollars back in your pocket through a buy-and-sell listing or a building-material reuse centre, and it cuts your disposal weight at the same time.
Work in rows, clearing each board off the platform before starting the next, so you never stand on a board with the screws already removed. That is how ankles get twisted.
Step 4: Take Down the Frame and Ledger
Now the structure. Remove the joists one at a time, cutting through stubborn fasteners with the reciprocating saw. The last and most important piece is the ledger board, the band of lumber bolted to your house that the whole deck hangs from.
Red Flag: Stop Here if the Deck Is High or Attached
Cutting a ledger board off the house, dropping framing from height, and working over your head are where deck tear-downs turn dangerous. If the deck is raised, large, or you are unsure how it is fastened to the structure, stop and call a professional crew. A falling section of framing does not care how careful you are being.
When the ledger comes off, check the house wall behind it. Old flashing and rotten sheathing are common, and this is the one moment you can see and fix them before the new deck goes up. Photograph anything that looks off so your contractor can address it.
Step 5: Deal with the Footings
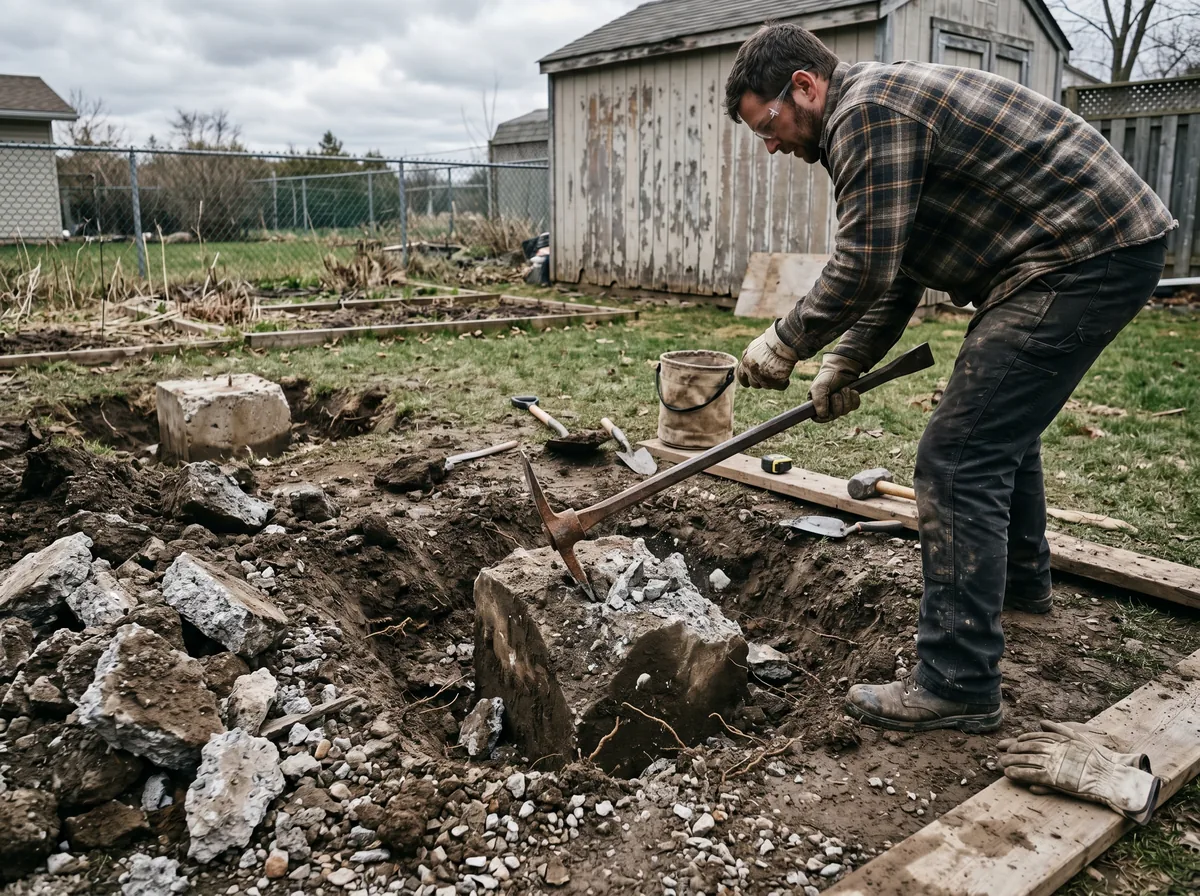
Footings are the part homeowners forget, and they are the part that drags the job into a second day. Older decks often sit on concrete footings or buried posts. If you are rebuilding in the same spot, you may be able to reuse sound footings, but check first, because a new build may require footings that meet current code.
Removing footings means digging them out and breaking up the concrete, which is heavy, slow work. Many people stop their DIY effort right here and call a crew with the equipment to pull footings cleanly. There is no shame in it; this is the single hardest part of a deck removal.
Step 6: Haul and Sort the Debris
A demolished deck makes a surprising amount of debris, and not all of it can go to the same place. Pressure-treated lumber, the greenish or brownish wood common in older decks, contains preservatives that make it hazardous to burn and unsuitable for yard waste. It must go to a transfer station that accepts construction material.
| Material | Where It Goes | Notes |
|---|---|---|
| Pressure-treated lumber | Construction debris transfer station | Never burn it, never put it in yard waste |
| Clean cedar / untreated wood | Reuse, donate, or recycle | Often has resale value |
| Composite decking | Recycle where accepted, or disposal | Check the manufacturer’s program |
| Concrete footings | Concrete recycling depot | Heavy, charged by weight |
| Metal fasteners and hardware | Scrap metal recycling | Magnet sweep the ground after |
Pricing note: The figures on this page reflect typical market rates in Toronto and the GTA as of 2026. What you actually pay depends on the size of the structure, site access, the disposal and tipping fees that apply, and whether a designated substance survey or abatement is needed first. Always get a written, on-site quote before you commit.
Do a final nail sweep with a magnet on a stick across the whole work area. A backyard full of stray deck screws is a lawn-mower and bare-foot hazard for years if you skip this.
Common Mistakes to Avoid
- Skipping the permit call. A stop-work order mid-teardown costs time and money, and it can complicate your rebuild.
- Working bottom-up. Removing structure before railings and boards leaves you standing on an unstable surface.
- Burning treated lumber. It releases toxic compounds and is illegal in Ontario. Haul it, do not torch it.
- Ignoring the house wall. The exposed ledger area is your one chance to catch rot and bad flashing before the new deck hides it again.
- Underestimating the debris. A deck fills a bin faster than you think, and a half-loaded second bin trip eats your savings.
Download the Free Quick Guide
A printable one-page checklist with the six-step sequence, the permit reminder, the tool list, and the debris-sorting guide so nothing gets missed on the day.
Frequently Asked Questions
What to Do Next
Ready to get that old deck gone? Here is your short list:
- Call your municipality to confirm whether a permit is required.
- Line up a disposal bin or a crew that hauls, and plan where the debris goes.
- Work top-down, gear up, and stop before the ledger or footings if the deck is high or attached.
Serving homeowners across Toronto and the GTA, ALMAR Demolition GTA can take the whole deck, footings included, off your hands in a day. Reach out for a free, on-site quote.